Subaru Crosstrek Service Manual: Removal
GLASS/WINDOWS/MIRRORS > Front Door Glass
REMOVAL
1. Disconnect the ground cable from battery and wait for at least 60 seconds before starting work. NOTE">
2. Remove the trim panel - front door. Door Trim > REMOVAL">
3. Remove the sealing cover - front door. Front Sealing Cover > REMOVAL">
4. Remove the front door inner pad (a).
CAUTION:
If the clip is damaged, replace it with a new part because the panel assembly - front door may be deformed.

5. Attach the battery ground cable and the switch - power window, and turn the ignition switch to ON. NOTE">
6. Remove the glass assembly - front door.
(1) Operate the switch - power window to move the glass assembly - front door to the position where the mounting bolts can be seen.
(2) Remove the running channel - front door.
(3) Remove the mounting bolts from the glass assembly - front door.
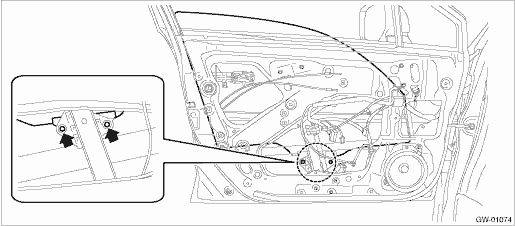
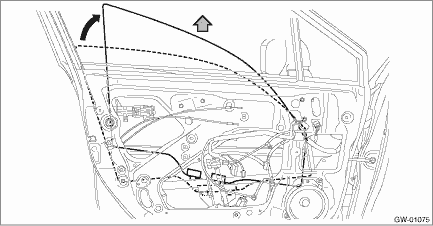
(4) While tilting the glass, remove the glass assembly - front door.
CAUTION:
Avoid impact and damage to the glass assembly - front door.
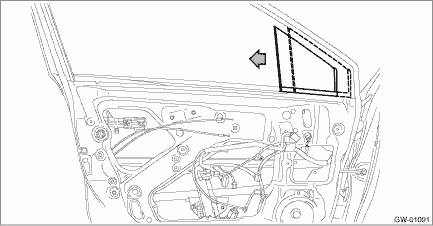
7. Remove the glass - front door partition.
(1) Remove the bolts and screws, and then remove the sash COMPL - partition.
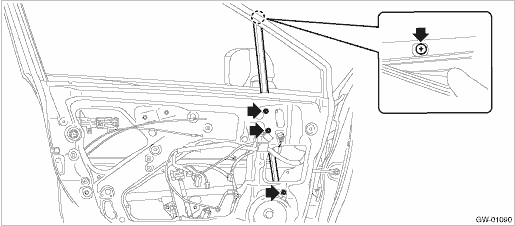
(2) Remove the glass - front door partition.
 Installation
GLASS/WINDOWS/MIRRORS > Front Door GlassINSTALLATIONCAUTION:• Check that the running channel - front door is securely fixed to the panel assembly - front door and to the sash COMPL - partitio ...

Other materials:
Installation
INSTRUMENTATION/DRIVER INFO > Steering SwitchINSTALLATIONCAUTION:• Before handling the airbag system components, refer to “CAUTION” of “General Description” in “AIRBAG SYSTEM”. General Description > CAUTION">• Do not allow harness and co ...
Intake manifold vacuum Inspection
MECHANICAL(H4DO) > Intake Manifold VacuumINSPECTION1. Turn the ignition switch to OFF.2. Warm up the engine.3. Install the vacuum gauge.(1) Remove the brake booster vacuum hose from the intake manifold.(2) Connect the vacuum gauge to the intake manifold.4. Keep the engine at idle speed and read t ...
Dtc b1625 side airbag sensor lh failure
AIRBAG SYSTEM (DIAGNOSTICS) > Diagnostic Chart with Trouble CodeDTC B1625 SIDE AIRBAG SENSOR LH FAILUREDIAGNOSIS START CONDITION:Ignition voltage is 10 V to 16 V.DTC DETECTING CONDITION:Side airbag sensor (LH) is faulty.When DTC B1625 is displayed, the circuit within the side airbag sensor (LH) i ...
