Subaru Crosstrek Service Manual: Removal
DIFFERENTIALS > Rear Differential (T-type)
REMOVAL
1. Shift the select lever or gear shift lever to neutral.
2. Release the parking brake.
3. Disconnect the ground cable from battery.
4. Lift up the vehicle.
5. Remove the rear wheels.
6. Drain differential gear oil. Differential Gear Oil > REPLACEMENT">
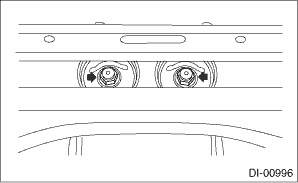
7. Remove the rear exhaust pipe. Rear Exhaust Pipe > REMOVAL">
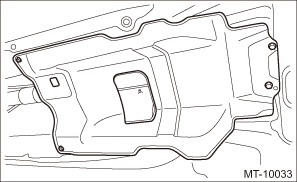
8. Remove the center exhaust cover.
9. Remove the propeller shaft. Propeller Shaft > REMOVAL">
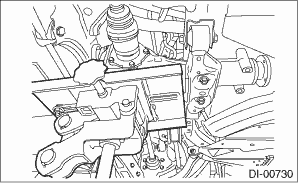
10. Loosen the self-lock nuts which hold the rear differential to the rear sub frame assembly.
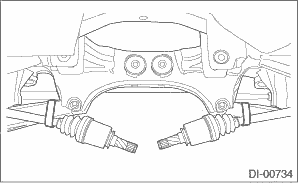
11. Remove the DOJ of rear drive shaft from rear differential using ST or tire lever.
NOTE:
• For the T-type, use the ST.
• For the VA1-type, use the tire lever.
• When removing the DOJ from the rear differential, fit the tire lever or ST to the bolts as shown in the figure so as not to damage the side retainer.
T-type
| ST 28099PA100 | DRIVE SHAFT REMOVER |
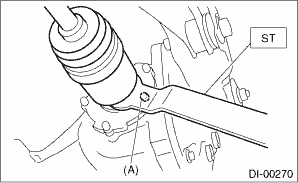
(A) | Bolt |
VA1-type
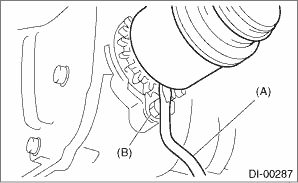
(A) | Tire lever |
(B) | Bolt |
12. Set the rear differential to transmission jack.
13. Remove the rear differential front member.
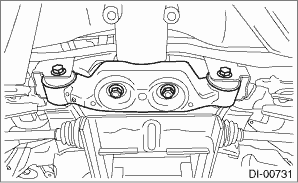
14. Remove the self-lock nuts which hold the rear differential to the rear sub frame assembly.
15. Pull out the rear differential stud bolt from rear differential mount bushing.
NOTE:
When removing the stud bolt from the rear differential mount bushing, carefully adjust the angle and location of transmission jack and jack stand, if necessary.
16. Lower the transmission jack.
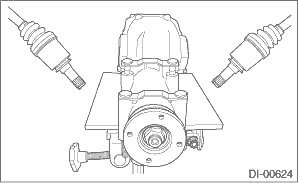
17. Pull out the rear drive shaft from the rear differential.
NOTE:
If it is difficult to pull out the rear drive shaft from rear differential, use the ST for T-type and the tire lever for VA1-type.
| ST 28099PA100 | DRIVE SHAFT REMOVER |
18. Lower the transmission jack.
19. Secure the rear drive shaft to rear lateral link using wire.
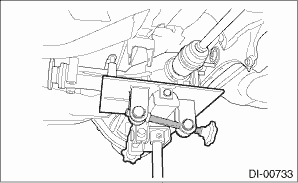
20. Remove the rear differential member plate from rear differential.
(A) | Rear differential member plate |
 Installation
DIFFERENTIALS > Rear Differential (T-type)INSTALLATION1. Attach the rear differential member plate to the rear differential.(A)Rear differential member plate2. Set the rear differential to transmis ...

Other materials:
Audio system Wiring diagram
WIRING SYSTEM > Audio SystemWIRING DIAGRAM1. 6.2-INCH DISPLAY2. 7 INCH DISPLAY (WITHOUT TELEMATICS)3. 7 INCH DISPLAY (WITH TELEMATICS) ...
Corrosion protection
Your Subaru Ascent has been carefully engineered and manufactured with advanced
corrosion-resistant materials and protective coatings. These features are designed
to preserve the vehicle’s structural integrity, maintain its refined appearance,
and ensure long-term reliability even under chal ...
Dtc b1795 occupant detection module internal circuit
OCCUPANT DETECTION SYSTEM (DIAGNOSTICS) > Diagnostic Procedure with Diagnostic Trouble Code (DTC)DTC B1795 OCCUPANT DETECTION MODULE INTERNAL CIRCUITDIAGNOSIS START CONDITION:Ignition voltage is 8 V to 16 V.DTC DETECTING CONDITION:Occupant detection control module is faulty.When “DTC B1795 ...
