Subaru Crosstrek Service Manual: Removal
COOLING(H4DO) > Radiator
REMOVAL
CAUTION:
The radiator is pressurized when the engine and radiator are hot. Wait until engine and radiator cool down before working on the radiator.
1. Disconnect the ground cable from battery. NOTE">
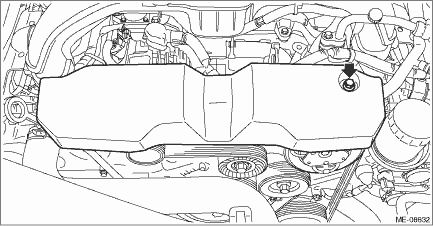
2. Remove the V-belt covers.
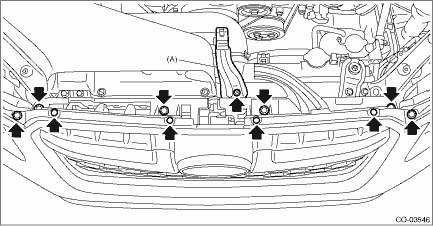
3. Remove the grille bracket.
NOTE:
Remove the ten clips.
4. Remove the bolts, and remove the bracket - plate (A).
5. Lift up the vehicle.
6. Remove the under cover. Front Under Cover > REMOVAL">
7. Drain engine coolant. Engine Coolant > REPLACEMENT">
8. Disconnect the radiator outlet hose from thermostat cover.
9. Lower the vehicle.
10. Remove the air intake duct. Air Intake Duct > REMOVAL">
11. Remove the reservoir tank. Reservoir Tank > REMOVAL">
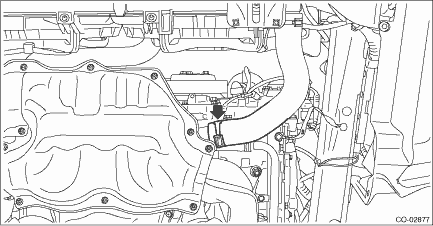
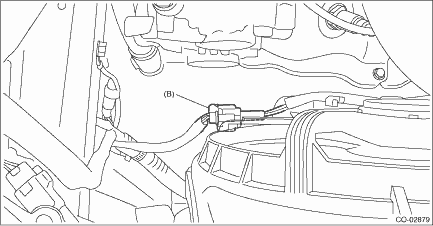
12. Disconnect the connector (A) from the main fan motor assembly and the connector (B) from the sub fan motor assembly.
13. Disconnect the radiator inlet hose from the water pipe assembly.

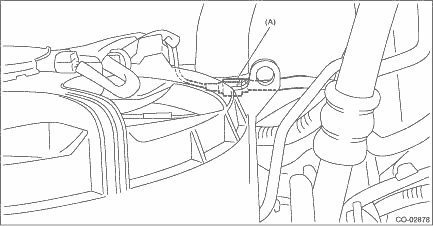
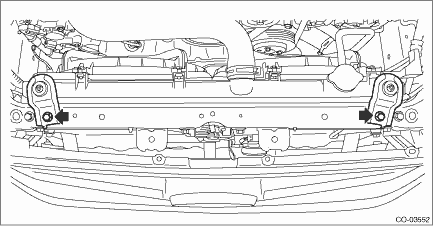
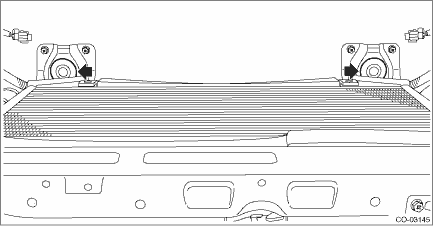
14. Remove the radiator upper brackets.
15. Remove the radiator from vehicle.
16. Remove the radiator lower cushion from the radiator lower bracket.
 Inspection
COOLING(H4DO) > RadiatorINSPECTION1. Check that the radiator does not have deformation, cracks or damage.2. Check that the hose has no cracks, damage or loose part.3. Remove the radiator cap, fill ...
 Installation
COOLING(H4DO) > RadiatorINSTALLATION1. Attach the radiator lower cushion to the radiator lower bracket.2. Install the radiator to vehicle.NOTE:Make pins on the lower side of radiator be fitted into ...
Other materials:
Disassembly
CLUTCH SYSTEM > Master CylinderDISASSEMBLY1. Remove the straight pin and nipple.(A)Nipple(B)Straight pin2. Remove the oil seal.(A)Oil seal3. Move the seat towards the rear.(A)Seat(B)Master cylinder4. Remove the piston stop ring.CAUTION:When removing the piston stop ring, be careful to prevent the ...
Dtc c0041 parameter selection error
VEHICLE DYNAMICS CONTROL (VDC) (DIAGNOSTICS) > Diagnostic Procedure with Diagnostic Trouble Code (DTC)DTC C0041 PARAMETER SELECTION ERRORDTC DETECTING CONDITION:VDCCM parameter selection errorTROUBLE SYMPTOM:• ABS does not operate.• EBD does not operate.• VDC does not operate.&b ...
Meters and gauges
NOTE
Some meters and gauges in the Subaru Ascent instrument cluster utilize liquid
crystal displays. If you are wearing polarized sunglasses, visibility of certain
indicators may be reduced.
Speedometer
The Subaru Ascent speedometer provides a clear and precise display of the vehicle’s
cu ...
