Subaru Crosstrek Service Manual: Removal
HVAC SYSTEM (HEATER, VENTILATOR AND A/C) > Condenser
REMOVAL
1. Using the refrigerant recovery system, discharge refrigerant. Refrigerant Recovery Procedure > PROCEDURE">
2. Remove the air intake duct. Air Intake Duct > REMOVAL">
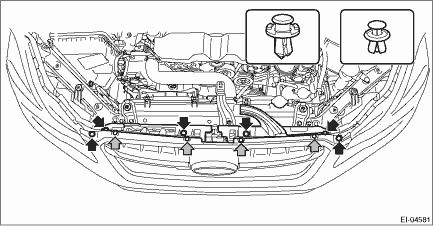
3. Remove the clip, and remove the bracket - grille.
NOTE:
To prevent damage to the bracket - grille, make sure to remove all clips.
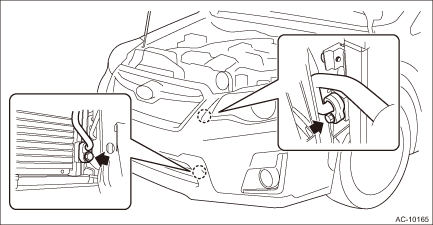
4. Remove the bolt, and disconnect the hose - pressure discharge and the pipe - evaporator cooling from the condenser assembly - air conditioner.
CAUTION:
Seal the disconnected hose, pipe and engaging part of condenser assembly with a plug or vinyl tape to prevent foreign matter from entering.
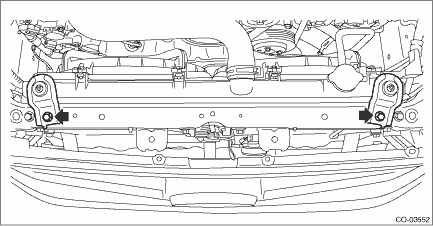
5. Remove the bolts and remove the radiator upper bracket.
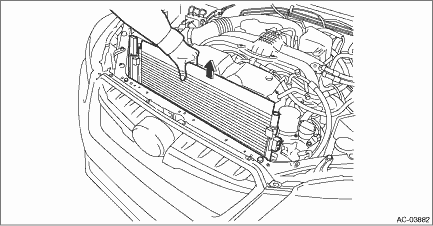
6. Remove the condenser assembly - air conditioner.
(1) Remove the bolt.

(2) By lifting the condenser assembly - air conditioner, pull it out through the space between the radiator and the radiator panel.
CAUTION:
Be careful not to damage the condenser and radiator fin. If a damaged fin is found, repair it using a thin screwdriver.
 Inspection
HVAC SYSTEM (HEATER, VENTILATOR AND A/C) > CondenserINSPECTION1. Check to see that the condenser fins are not clogged with debris or insects. Blow with compressed air or flush fins with water as ne ...
 Installation
HVAC SYSTEM (HEATER, VENTILATOR AND A/C) > CondenserINSTALLATIONCAUTION:• If the condenser assembly - air conditioner has been replaced, add an appropriate amount of compressor oil. Compress ...
Other materials:
Removal
FUEL INJECTION (FUEL SYSTEMS)(H4DO) > Manifold Absolute Pressure SensorREMOVAL1. Disconnect the ground cable from battery.2. Disconnect the connector (A) from the manifold absolute pressure sensor, and remove the manifold absolute pressure sensor from intake manifold. ...
Location
WIPER AND WASHER SYSTEMS > Relay and FuseLOCATIONMain fuse boxFuse 30 A (wiper)(A)Relay & fuse boxFuse 7.5 A (wiper)(B)Relay holderWiper relay(C)NOTE:For other related fuses, refer to the wiring diagram. Power Supply Circuit"> ...
Steering warning light does not come on
POWER ASSISTED SYSTEM (POWER STEERING) (DIAGNOSTICS) > STEERING Warning LightSTEERING WARNING LIGHT DOES NOT COME ON1. POWER STEERING ASSIST ENABLEDDetecting condition:• Defective combination meter• Defective harnessTrouble symptom:When the ignition switch is turned to ON (engine OFF) ...
