Subaru Crosstrek Service Manual: Removal
EMISSION CONTROL (AUX. EMISSION CONTROL DEVICES)(H4DO) > Purge Control Solenoid Valve
REMOVAL
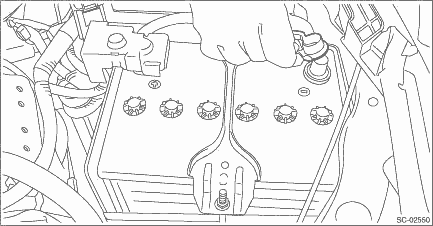
1. Disconnect the ground cable from battery.
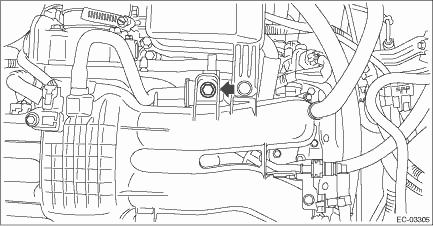
2. Remove the bolt which holds the purge control solenoid valve onto intake manifold.
NOTE:
Hold the purge control solenoid valve unit by hand to prevent it from rotating together.
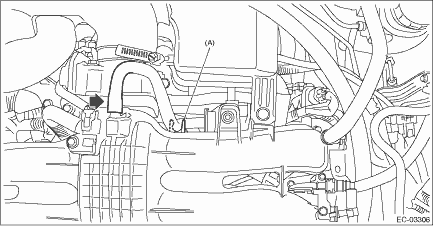
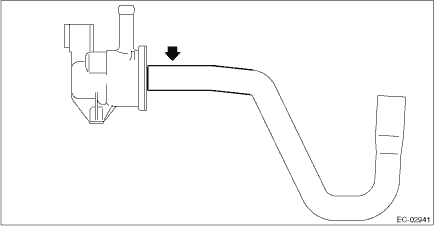
3. Disconnect the vacuum hose from the intake manifold and intake manifold clip (A).
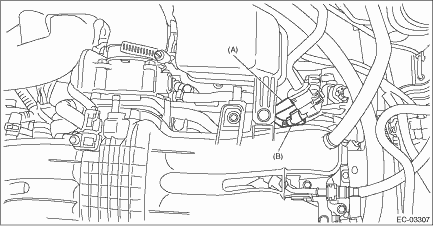
4. Disconnect the vacuum hose (A) and connector (B) from the purge control solenoid valve, and remove the purge control solenoid valve.
5. Remove the vacuum hose from the purge control solenoid valve.
 Inspection
EMISSION CONTROL (AUX. EMISSION CONTROL DEVICES)(H4DO) > Purge Control Solenoid ValveINSPECTION1. PURGE CONTROL SOLENOID VALVE1. Check that the purge control solenoid valve has no deformation, crac ...
 Installation
EMISSION CONTROL (AUX. EMISSION CONTROL DEVICES)(H4DO) > Purge Control Solenoid ValveINSTALLATIONInstall in the reverse order of removal.NOTE:• Hold the purge control solenoid valve unit by h ...
Other materials:
Operation
KEYLESS ACCESS WITH PUSH BUTTON START SYSTEM (DIAGNOSTICS) > Read Current DataOPERATION1. On «Start» display, select «Diagnosis».2. On «Vehicle selection» display, input the target vehicle information and select «Confirmed».3. On «Main Menu» display, select «Each System».4. On «Selec ...
Removal
SECURITY AND LOCKS > Keyless BuzzerREMOVAL1. Disconnect the ground cable from battery. NOTE">2. Lift up the vehicle.3. Remove the clips and screws, and turn over the front side of the mud guard - front RH.4. Remove the keyless buzzer.(1) Disconnect the connector.(2) Remove the clip and d ...
Wiring diagram
SECURITY AND LOCKS > Door Lock Control SystemWIRING DIAGRAMFor wiring diagrams related to the door lock control system, refer to the following items.• Keyless entry system: Keyless Entry System > WIRING DIAGRAM">• Keyless access system: Keyless Access System > WIRING D ...
