Subaru Crosstrek Service Manual: Removal
CONTINUOUSLY VARIABLE TRANSMISSION(TR580) > CVTF Cooler (With Warmer Function)
REMOVAL
CAUTION:
If the CVTF and engine coolant is spilt over exhaust pipe, wipe it off with cloth to avoid emitting smoke or causing a fire.
1. Disconnect the ground cable from battery. NOTE">
NOTE:
For model with battery sensor, disconnect the ground terminal from battery sensor.
2. Drain engine coolant. Engine Coolant > REPLACEMENT">
3. Remove the clip (A) from the air intake boot.
4. Loosen the clamp (B) connecting the air intake boot and air cleaner case (rear).
5. Loosen the clamp (C) which connects the air intake boot and throttle body.
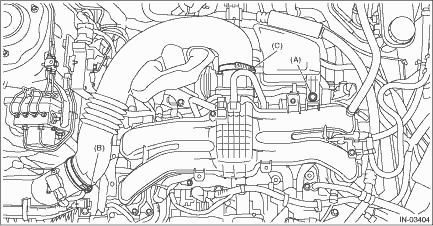
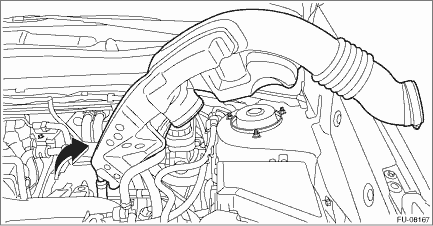
6. Remove the air intake boot from the throttle body, and move it to the left side wheel apron.
7. Remove the harness bracket, and then remove the engine harness.
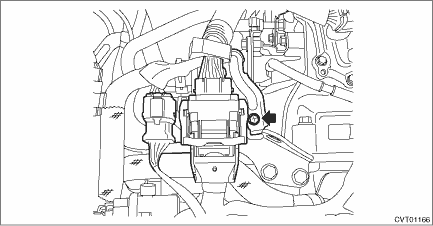
8. Disconnect the EGR control valve harness connector, throttle position sensor harness connector and manifold absolute pressure sensor harness connector.
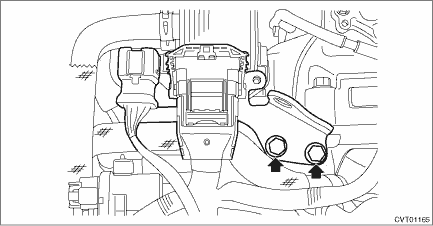
9. Remove the engine hanger rear.
10. Remove the engine coolant outlet hose.
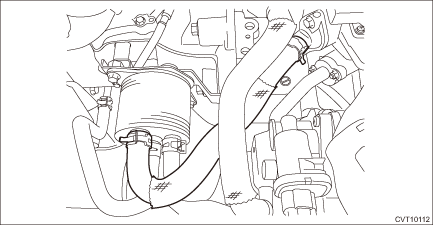
11. Remove the CVTF inlet hose and outlet hose.
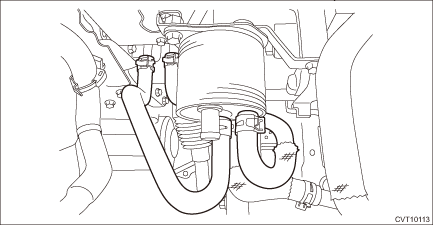
12. Remove the engine coolant inlet hose.
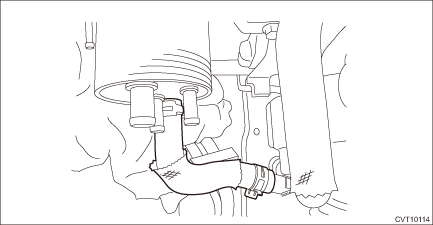
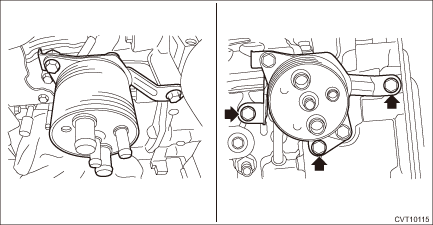
13. Remove the CVTF cooler (with warmer feature) from the transmission.
 Assembly
CONTINUOUSLY VARIABLE TRANSMISSION(TR580) > CVTF Cooler (With Warmer Function)ASSEMBLY1. Attach the bracket.Tightening torque:23 N·m (2.3 kgf-m, 17.0 ft-lb) ...
 Disassembly
CONTINUOUSLY VARIABLE TRANSMISSION(TR580) > CVTF Cooler (With Warmer Function)DISASSEMBLY1. Remove the bracket from the CVTF cooler (with warmer feature). ...
Other materials:
Disposal of pretensioner Procedure
SEAT BELT SYSTEM > Disposal of PretensionerPROCEDUREWARNING:Make sure to follow the instructions below. Otherwise, personal injuries may occur.• Before discarding a pretensioner, always perform an activation process to prevent any false activation.• Wear protective gloves, safety gogg ...
Rear window wiper blade assembly
1. Raise the wiper arm off the rear
window.
2. Turn the wiper blade assembly counterclockwise.
3. Pull the wiper blade assembly toward
you to remove it from the wiper arm.
4. Install the wiper blade assembly to the
wiper arm. Make sure that it locks in place.
5. Hold the wiper arm ...
Operation
INSTRUMENTATION/DRIVER INFO (DIAGNOSTICS) > User CustomizingOPERATION1. COMBINATION METER1. On «Start» display, select «Diagnosis».2. On «Vehicle selection» display, input the target vehicle information and select «Confirmed».3. On «Main Menu» display, select «Each System».4. On «Sel ...
