Subaru Crosstrek Service Manual: Disassembly
EMISSION CONTROL (AUX. EMISSION CONTROL DEVICES)(H4DO) > Drain Separator
DISASSEMBLY
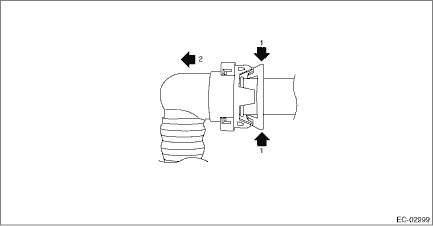
1. Disconnect the drain tube (A) from the leak check valve assembly.
NOTE:
Disconnect the quick connector as shown in the figure.
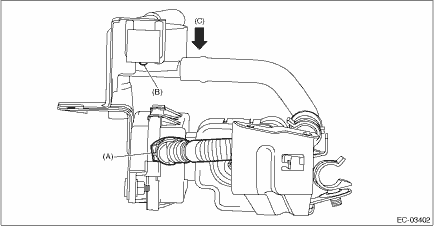
2. Lift up the claw (B) of the drain separator and slide the drain separator in the direction of the arrow (C) to remove the drain separator.
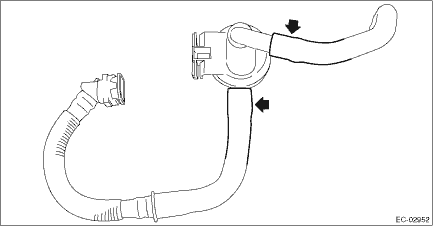
3. Remove the drain hose and drain tube from the drain separator.
 Removal
EMISSION CONTROL (AUX. EMISSION CONTROL DEVICES)(H4DO) > Drain SeparatorREMOVALThe drain separator is installed to the leak check valve assembly. Refer to “Leak Check Valve Assembly” fo ...
 Inspection
EMISSION CONTROL (AUX. EMISSION CONTROL DEVICES)(H4DO) > Drain SeparatorINSPECTION1. Check that the drain separator and drain separator bracket have no deformation, crack, or other damage.2. Check ...
Other materials:
Component
EMISSION CONTROL (AUX. EMISSION CONTROL DEVICES)(H4DO) > General DescriptionCOMPONENT1. CANISTER, LEAK CHECK VALVE ASSEMBLY AND DRAIN SEPARATORFor structures of the canister, leak check valve assembly and drain separator, refer to “FU (H4DO)”. General Description > COMPONENT" ...
Adjustment
WIPER AND WASHER SYSTEMS > Rear Wiper ArmADJUSTMENT1. Operate the rear wiper once.2. Align the blade assembly - rear wipe with the marking on the glass.3. If the wiper blade is not aligned with the point mark, perform the removal of the rear wiper to align with the marking. Rear Wiper Arm > R ...
Read diagnostic trouble code (dtc) Operation
OCCUPANT DETECTION SYSTEM (DIAGNOSTICS) > Read Diagnostic Trouble Code (DTC)OPERATIONRead out DTCs stored in the airbag system and the occupant detection system.1. AIRBAG SYSTEM1. On «Start» display, select «Diagnosis».2. On «Vehicle selection» display, input the target vehicle information ...
