Subaru Crosstrek Service Manual: Removal
CONTROL SYSTEMS > MT Gear Shift Lever
REMOVAL
1. Disconnect the ground cable from battery. NOTE">
NOTE:
For model with battery sensor, disconnect the ground terminal from battery sensor.
2. Remove the console box. Console Box > REMOVAL">
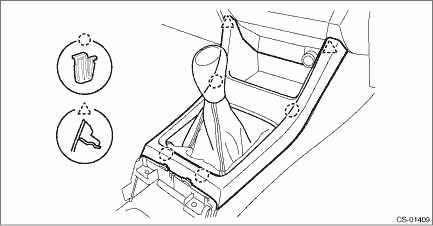
3. Remove the gear shift knob and remove the cover - shift lever.
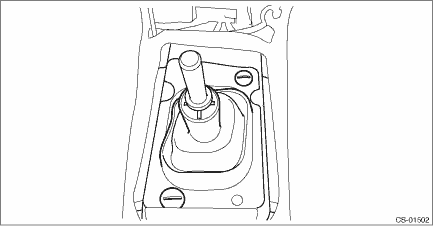
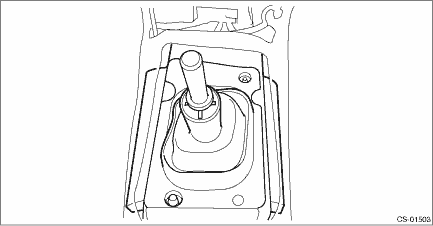
4. Remove the panel center LWR LH and RH. Console Box > REMOVAL">
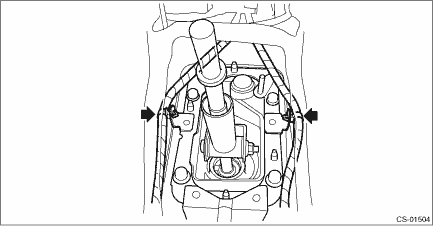
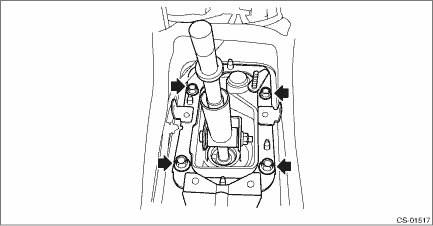
5. Remove the clamp.
6. Remove the boot and insulator assembly.
7. Remove the harness clamp from the plate COMPL.
8. Remove the plate COMPL from the vehicle body.
9. Lift up the vehicle.
10. Remove the center exhaust pipe. Center Exhaust Pipe > REMOVAL">
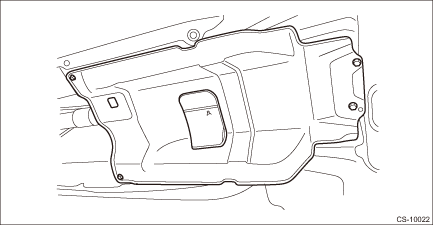
11. Remove the center exhaust cover.
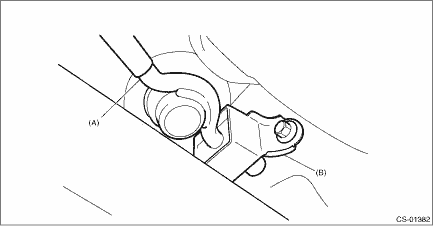
12. Remove the stay from the shift bracket.
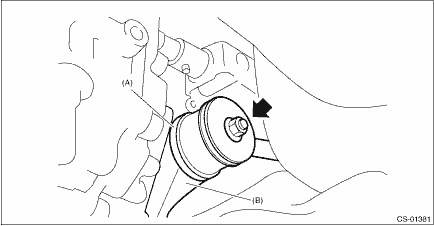
(A) | Stay |
(B) | Shift bracket |
13. Remove the rod from joint.
(A) | Stay |
(B) | Rod |
14. Remove the cushion rubber from the vehicle body.
(A) | Stay |
(B) | Cushion rubber |
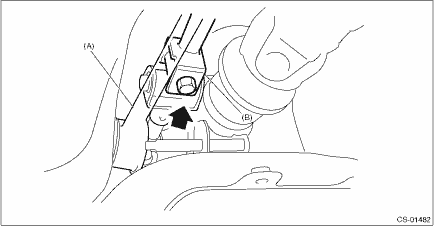
15. Extract the spring pin and remove the joint.
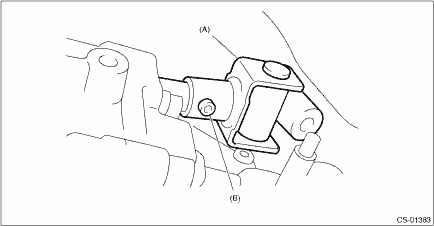
(A) | Joint |
(B) | Spring pin |
16. Lower the vehicle.
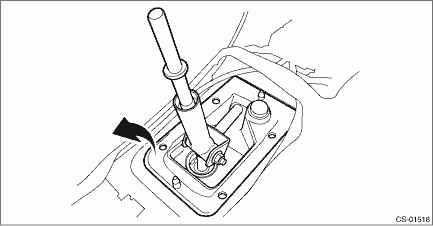
17. Remove the gear shift lever.
 Assembly
CONTROL SYSTEMS > MT Gear Shift LeverASSEMBLYNOTE:• Clean all the parts before assembly.• Apply NIGTIGHT LYW No. 2 grease or equivalent to each part. General Description > COMPONENT ...
 Disassembly
CONTROL SYSTEMS > MT Gear Shift LeverDISASSEMBLY1. Remove the lock wires.(A)Lock wire2. Remove the rod from gear shift lever.(A)Rod(B)Lever(C)Stay3. Separate the rod and inner boot.4. Remove the sn ...
Other materials:
Basic operation
This section describes some of the basic
features of the audio/visual system. Some
information may not pertain to your system.
Your audio/visual system works when the
ignition switch is turned to the "ACC" or
"ON" position.
CAUTION
To prevent the battery from being
discharged, do not leave ...
Dtc b2790 id code box circuit
KEYLESS ACCESS WITH PUSH BUTTON START SYSTEM (DIAGNOSTICS) > Diagnostic Procedure with Diagnostic Trouble Code (DTC)DTC B2790 ID CODE BOX CIRCUITDTC detecting condition:An error has occurred inside the ID code box.Trouble symptom:Engine will not start.CAUTION:For replacement procedure of ID code ...
Dtc c0038 rl pressure reducing valve malfunction
VEHICLE DYNAMICS CONTROL (VDC) (DIAGNOSTICS) > Diagnostic Procedure with Diagnostic Trouble Code (DTC)DTC C0038 RL PRESSURE REDUCING VALVE MALFUNCTIONNOTE:For the diagnostic procedure, refer to “C0064 NORMAL CLOSING VALVE 2 MALFUNCTION”. Diagnostic Procedure with Diagnostic Trouble C ...
